


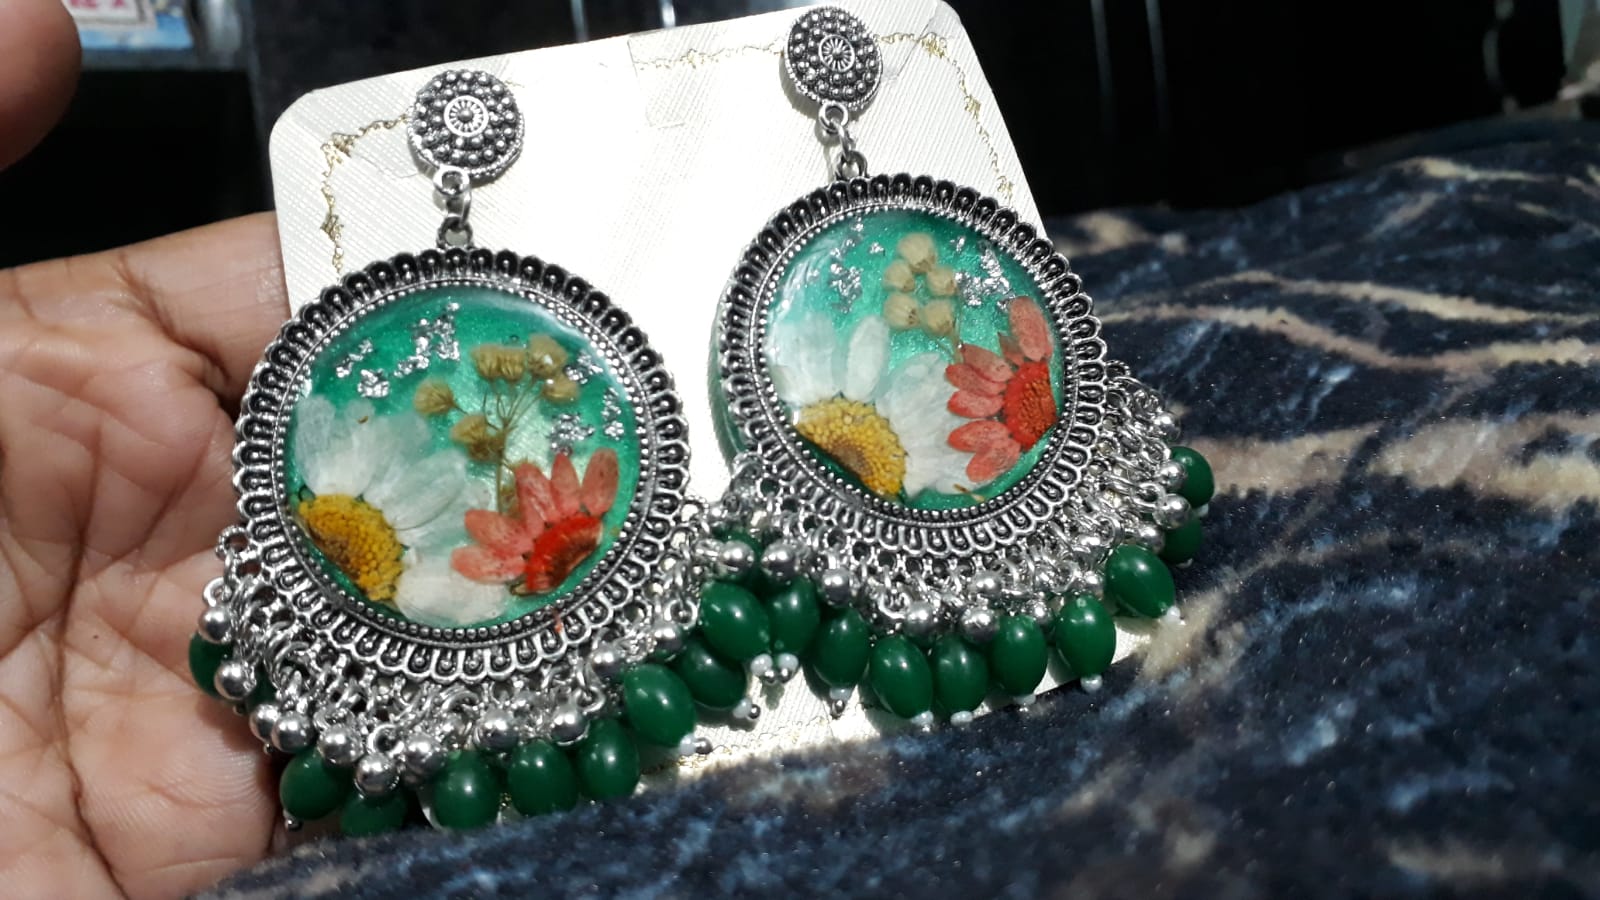
How to Make Resin Jewellery at Home – Easy Step-by-Step Guid
resin jewellery making at home
Here’s a complete guide to making resin jewellery at home — with what you need, how to do it, and tips for good results. Works well for beginners or hobby-based crafts.
What You Need (Supplies & Setup)
To start making resin jewellery (pendants, earrings, charms, etc.), gather these materials/tools:
-
Two-part epoxy resin + hardener (clear casting resin recommended).
-
Silicone molds or open bezels / pendant trays / earring molds (flexible silicone molds are easiest for demolding).
-
Mixing cups + stir sticks / spatula (disposable or reusable) for measuring and mixing resin.
-
Optional pigments, mica powders, glitter, foil flakes, dried flowers, small decorative items to embed inside resin for creative designs.
-
Protective gear: gloves, mask (especially if resin fumes are strong), and a well-ventilated workspace.
-
Basic tools for finishing: tweezers (for placing decorations), jump rings / earring posts / necklace chains / jewelry findings, and optionally small pliers or glue for attaching these.
Step-by-Step: How to Make Resin Jewellery at Home
Here’s a typical workflow for creating resin jewellery:
-
Prepare your workspace — Cover your table (wax paper or silicone mat), ensure ventilation, put on gloves & mask.
-
Measure resin and hardener — Use equal parts (or follow manufacturer’s ratio) in measuring cups.
-
Mix slowly and thoroughly — Stir gently, scraping sides and bottom until mixture is clear (no streaks), to minimize bubbles.
-
Add colours / decorations (optional) — If you want coloured resin or embed items (glitter, dried flowers, foil, etc.), add them now and stir lightly for even distribution.
-
Pour resin into mold/bezel — Pour slowly, ideally in layers: e.g. first a base layer, let settle a bit, then add decorative items, then fill top resin. This helps avoid bubbles and ensures good clarity.
-
Remove bubbles (if any) — After pouring, lightly heat with a hair-dryer or a small torch (if resin type permits) to release trapped air bubbles. Be gentle.
-
Allow to cure (harden) — Leave the resin undisturbed for the curing time recommended (often 24–48 hours, depending on resin).
-
Demold and finish — Once cured, gently pop out from mold. Use sandpaper/ file to smooth rough edges if needed. Attach jewelry findings (earring posts, chains, hooks) using small dab of resin or jewelry glue.
Creative Ideas & Tips for Better Jewellery
-
Use clear resin + embedded small items (glitter, foil flakes, dried flowers, tiny charms) to create pendants or earrings with unique, custom looks.
-
Try layered pours: first a clear layer, then embed items/decor, then top clear layer — gives depth and professional finish.
-
Make sure embedded items are dry & sealed (especially natural items like flowers) — moisture or unsealed porous material can ruin the resin.
-
Always work in a ventilated area, use gloves/ mask — resin chemicals can be irritant.
-
For beginners — start simple: plain pendants or basic resin shapes — then gradually experiment with colours, embedments, and complex moulds.
What to Expect & What Beginner Mistakes to Avoid
-
Resin must be measured and mixed accurately — too much/too little hardener resin ratio can lead to sticky, soft, or improperly cured jewellery.
-
Bubbles — Stir slowly, pour carefully, and use gentle heat (if allowed) — rushing causes bubbles or cloudy resin.
-
Moisture — embedding wet or unsealed items (flowers, paper) may result in discoloration or resin reaction. Always dry/seal properly before embedding.
-
Curing time — remove pieces too early, they may deform or remain tacky. Patience is key.
Leave A Reply
Your email address will not be published. Required fields are marked *